How to Use a Water Flosser Without Making a Mess
TL;DR: How to use a water flosser correctly? To use a water flosser without making a mess, simply lean over the bathroom sink, place the nozzle tip in your mouth, and close your lips slightly around it before turning the device on. Aim the water stream at a 90-degree angle to your gumline, starting on the lowest pressure setting with lukewarm water. Finally, work systematically from your back teeth to your front teeth, pausing briefly between each tooth to allow the water to drain naturally from your mouth.
If you have recently invested in an oral irrigator, you likely have high hopes for your gum health but may have already experienced the dreaded "bathroom car wash" effect. Indeed, it is a common rite of passage: you turn the device on, and within seconds, your bathroom mirror, your shirt, and the ceiling are covered in water. Fortunately, you are not alone.
According to the Oral Health Foundation, nearly 1 in 3 adults in the UK have never flossed their teeth regularly. While many are turning to water flossers as a more comfortable alternative to traditional string, the steep learning curve often leads to the device being relegated to the back of the bathroom cabinet. Ultimately, learning how to use a water flosser correctly is the vital difference between achieving a professional-level clean and dealing with a frustrating morning mess.
Key Takeaways: Mastering the Water Flosser
- Lean Low: Always lean over the sink and keep your lips slightly parted to let water flow out naturally.
- Start Low: Begin on the lowest pressure setting to avoid gum sensitivity and accidental splashing.
- Aim for the Gumline: Hold the tip at a 90-degree angle to your teeth, focusing on the spaces in between.
- Maintenance Matters: In UK hard water areas, descale your Wtrpk device monthly to prevent limescale build-up.
Why does my water flosser make such a mess?
Based on our extensive testing at Wtrpk, the primary reason for a messy first experience is usually a simple misunderstanding of the physics involved. Most users naturally treat a water flosser like a toothbrush, standing upright and looking at themselves in the mirror while they work. However, oral irrigators use a highly concentrated, pressurised stream of water. Consequently, when that stream hits the hard surface of your enamel at a high velocity, it immediately reflects.
If your mouth is wide open, that water has nowhere to go but outwards. Furthermore, many beginners drastically underestimate the power of the motor. Even a portable cordless water flosser can pack enough punch to spray several metres if not contained properly. Therefore, to achieve a mess-free clean, you must transition away from a "look and spray" mindset and adopt a "lean and drain" technique.
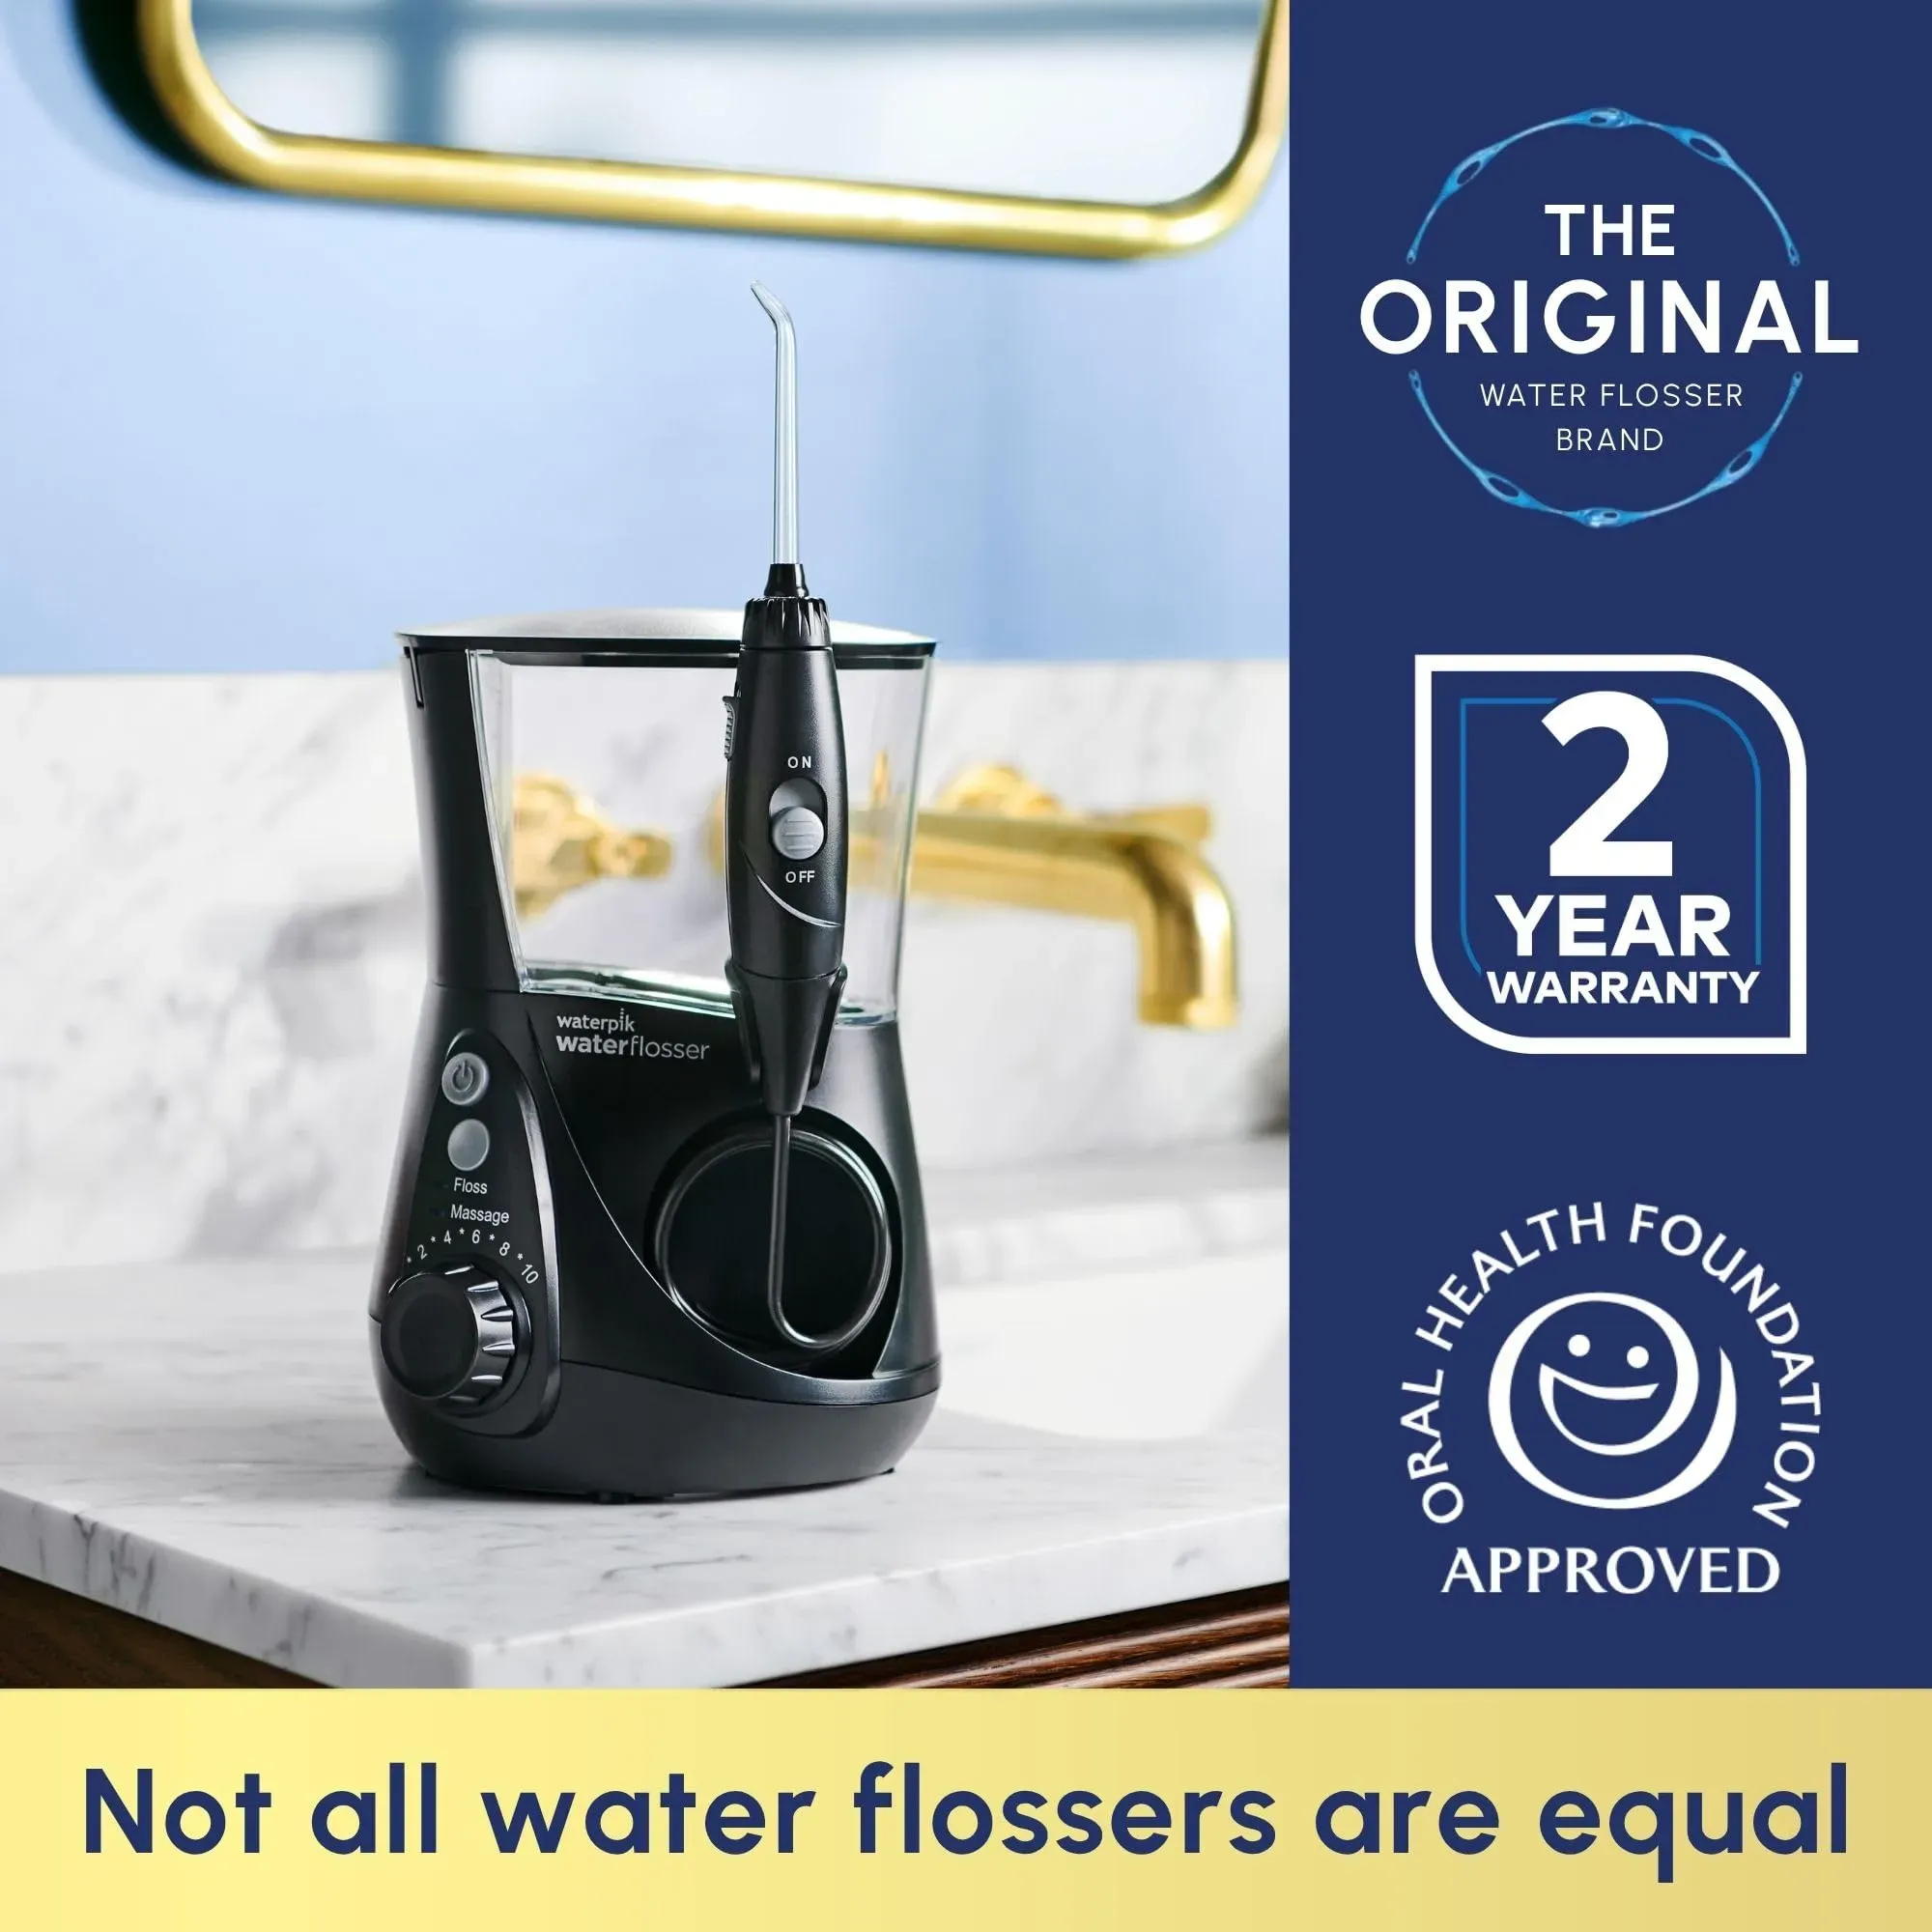
Which water flosser tip should I use?
Before you even fill the reservoir, it is crucial to select the correct attachment. Most Wtrpk models come equipped with a variety of tips designed for specific dental needs. Crucially, using the wrong tip can lead to inefficient cleaning or unnecessary splashing.
The Standard Jet Tip
This is the workhorse of the water flosser. It produces a singular, high-pressure stream designed for everyday, general use. If you have generally healthy gums and no orthodontic work, this should undoubtedly be your go-to nozzle.
The Orthodontic Tip
Designed with a small, tapered brush at the end, this tip is absolutely essential for those with braces or permanent retainers. It allows you to manually scrub around metal brackets while the water simultaneously flushes away the loosened debris. For a deeper dive into this specific routine, see our comprehensive guide on the best water flosser for braces in the UK.
The Periodontal Tip
This specialised tip features a soft rubber end designed to gently deliver medicated rinses or water deep into periodontal pockets. It should always be used on the lowest pressure setting to ensure optimal comfort and safety.
What is the best water temperature and pressure setting for a water flosser?
One of the most frequently asked water flosser tips and tricks involves the water itself. Cold tap water can be a severe shock to the system, especially if you suffer from tooth sensitivity—a condition affecting roughly 40% of the UK population, according to various national dental surveys.
The Golden Rule: Always use lukewarm water. Not only is it more effective at breaking down certain types of stubborn plaque, but it is also significantly more comfortable on sensitive gums. In addition, if you desire an extra feeling of freshness, you can add a small capful of alcohol-free mouthwash to the reservoir. Just ensure you flush the unit with plain water afterwards to prevent internal gumming.
When it comes to pressure, do not be a hero. Dental professionals strictly advise starting on the lowest possible setting. Most modern Wtrpk units offer a "Pulse" or "Soft" mode. As your gums become accustomed to the sensation over a few weeks, and subsequently become firmer and healthier, you can gradually increase the presf you are still debating whether the investment is worth it compared to traditional methods, check out our in-depth clinical analysis on water flosser vs string floss.
How do you use a water flosser without water going everywhere?
Mastering your posture is the most critical stage to stop water flosser splashing. To guarantee a dry bathroom mirror, follow this exact sequence:
- Lean over the basin: Bend significantly at the waist so your face is directly over the sink. You want the water to have the shortest possible path from your mouth straight to the drain.
- Place the tip first: Put the nozzle securely in your mouth before turning the power on.
- Close your lips: Close your lips around the nozzle just enough to prevent spray from escaping, but importantly, keep them slightly parted so the used water can easily flow out of your mouth.
- The 90-Degree Angle: Aim the tip precisely at the gumline at a 90-degree angle. Always start with the back molars and work your way carefully toward the front incisors.
- Follow the Gumline: Glide the tip smoothly along the gumline, pausing briefly between each tooth to allow the pressurised water to penetrate the interdental spaces.
"The goal is not to 'wash' the teeth like a car, but to gracefully irrigate the sulcus—the microscopic space between the tooth and the gum where harmful bacteria hide." — UK Dental Hygiene Insight
What are the most common mistakes when using a water flosser?
Even with the right leaning technique, a few simple errors can quickly lead to a mess or significantly reduced efficacy. Based on our user feedback, here is what to avoid:
- Looking in the Mirror: It is incredibly tempting to watch what you are doing, but looking up will inevitably result in water running down your chin and onto your clothes. Instead, trust your tactile sense.
- Removing the Tip while On: Always hit the "Off" button or release the "Pause" switch before taking the nozzle out of your mouth. Unsurprisingly, this remains the number one cause of soaked bathrooms.
- Ignoring the Back of the Teeth: Many users only floss the outward-facing "smile side" of their teeth. To truly improve your overall oral health, you must also diligently floss the lingual (tongue) side of your teeth.
- Using High Pressure on Inflamed Gums: If your gums are bleeding, your first instinct might be to blast the bacteria away. However, applying high pressure on inflamed tissue can cause unnecessary trauma. Always use a gentle setting until the inflammation naturally subsides.
How do you clean and descale a water flosser?
If you live in London, the South East, or other notorious hard water UK areas, limescale will inevitably build up inside your device over time. Consequently, this mineral accumulation can restrict water flow and eventually damage the internal pump. To keep your Wtrpk running optimally, we highly recommend descaling the unit once a month. Simply run a mixture of two tablespoons of white vinegar and warm water through the reservoir, followed by a full tank of clean, warm water to flush out any lingering taste.
Ready to try Wtrpk?
Shop Now — £71.71